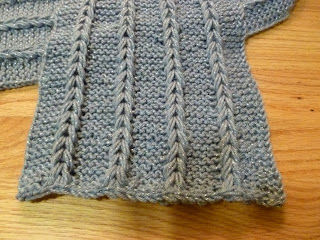
My niece and nephew are expecting their first baby in January so finally I have a relative to make baby things for as well as for those babies at charities that my knitting group donates to.
So far, I've finished two baby blankets.
Knitted Blanket
I still had some yarn left so I crocheted a scalloped edging. The pattern is "Shell Edge" from 150 Crochet Trims by Susan Smith (St. Martin's Griffin, 2007, pg. 48). I like adding a crocheted border to a knitted piece as it helps to stabilize the edges and to keep the piece's shape. Of course, the edges on a garter stitched item usually behave and don't roll like stockinette does so this time the crocheted edging was mostly to add a bit of interest to an otherwise simple square.
Crocheted Blanket
The other blanket is crocheted using Plymouth's "Encore Colorspun" worsted weight in colorway #7722 "Very Bright Kids." Do you see a pattern here? Encore is my goto yarn when I need the easy care of acrylic but want the yarn a bit nicer than 100% acrylic. Encore is 75% acrylic and 25% wool and is machine washable and dryable, making it perfect for baby things. And I think the wool softens the feel of the yarn.
The pattern is a simple one of rows of double stitches with occasional chain skips to create holes in the middle of three rows. The completed blanket is approximately 36" by 36".
Here's my pattern info (I realize since I'm not a professional crochet designer, some instructions might confuse...feel free to ask me to clarify anything):
In my example the number of stitches I used are multiples of 12 plus 10 more stitches plus 3 stitches for beginning row 1. For my blanket I chained enough stitches to have 94 stitches on each row, plus I included 3 extra chains to begin the first row of double stitches.
Row 1: ds in 4th chain from the hook and ds in all the remaining stitches, chain 3, turn.
Row 2: ds in stitches 2-10, skip 2 stitches, chain 2. Continue 10 ds, skip 2, ch 2, ending with 10 ds. Chain 3, turn. This results in 7 holes separated by groups of 10 ds.
Row 3: ds in stitches 2-10, 2 ds over previous row's ch 2. This closes the hole you made in row 2. Continue in this fashion to the end, chain 3, turn.
Repeat Rows 1-3 to desired length.
You can be as flexible as you like: put more solid rows between the hole rows, put more stitches between holes, put fewer stitches between holes, put holes randomly through the piece, etc.


